Table of Contents
- How to Laser Print on Wood?
- Choosing the Right Laser Wood Printing Machine
- Preparing Your Design for Laser Wood Printing
- Laser Wood Printing Techniques: Power, Speed & PPI Settings
- Best Wood for Laser Printing (Beginner to Advanced)
- Wood Surface Preparation Before Laser Engraving
- Different Engraving Techniques for Wood
- Finishing Touches: Sanding and Sealing
- Creative Applications of Laser Wood Printing
- Maintenance and Care for Your Laser Engraver
- Conclusion
- FAQ
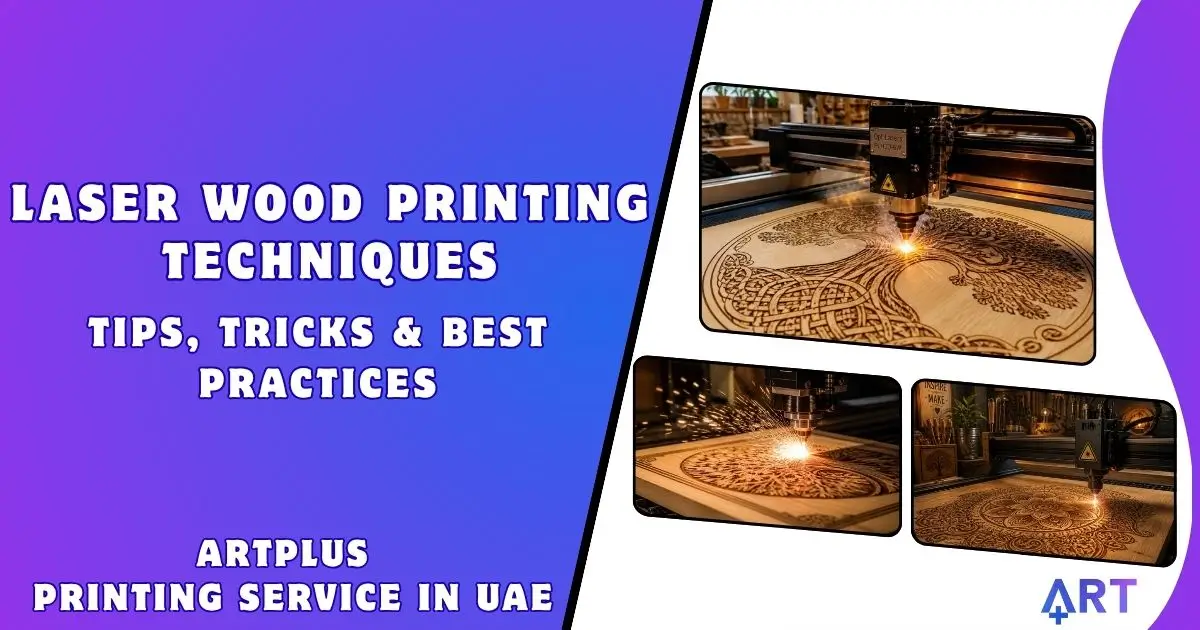
Laser wood printing uses a high‑power laser beam to engrave or cut designs into wood surfaces. You control power, speed, and PPI (pulses per inch) to achieve crisp details, depth, or even through-cuts. Birch, maple, and cherry are the easiest woods for beginners.
I’ve tested laser settings on dozens of wood types—from soft pine to dense walnut. The difference between a burnt, muddy mess and a sharp, professional engraving comes down to three settings. This guide walks you through equipment selection, design prep, setting optimisation, finishing, and creative applications. No fluff, just what works.
How to Laser Print on Wood?
How to laser print on wood? You need a CO₂ laser engraver. Prepare your design as a high‑contrast black‑and‑white vector file. Set the laser power (30‑100W depending on depth), speed (faster for lighter marks), and PPI (higher for detail). Test on scrap wood first. Then run the job. For commercial laser printing on wood with industrial equipment and finishing, explore professional wood printing services.
Choosing the Right Laser Wood Printing Machine
Selecting the proper equipment is critical. Here’s what matters:
- Low‑power lasers (30‑50W): Ideal for fine engraving on softwoods like pine and cedar. This is best for small crafts, jewelry, and detailed portraits.
- High‑power lasers (100W+): Can cut through thicker wood and engrave dense hardwoods quickly. Good for commercial production and large signage.
- Workbed size: Small machines (30×40 cm) suit coasters and plaques. Large formats (60×100 cm+) handle furniture panels and wall art.
- Adjustable settings: Look for intuitive control over power, speed, and PPI. Don’t buy a machine that hides these in submenus.
“A 40W laser is perfect for a home workshop. It engraves birch plywood beautifully and won’t burn your budget. Start there.”
Preparing Your Design for Laser Wood Printing
Use high‑resolution raster images (300+ DPI) or vector files (SVG, DXF, AI). Vector is best for sharp lines and text.
Key preparation steps:
- Convert colour images to grayscale—the laser reads darkness.
- Invert colours (white becomes the engraved area).
- Test on the same wood species—the grain affects contrast.
- For photos, use dithering patterns (e.g., Jarvis or Stucki) for smoother shading.
Software: LightBurn, LaserGRBL, Adobe Illustrator, CorelDRAW.
Laser Wood Printing Techniques: Power, Speed & PPI Settings
Three settings control everything. Master these, and you master laser printing.
Power Settings
Power determines engraving depth. Higher power = deeper burn. But too high scorches wood (black residue, raised grain).
- Softwoods (pine, cedar): 15‑30% power
- Hardwoods (maple, cherry): 30‑60% power
- Dense exotics (walnut, ebony): 50‑80% power
Always start low—increase gradually on test pieces.
Speed Settings
Speed affects how long the laser dwells on each spot. Slower speeds = darker, deeper marks. Faster speeds = lighter, finer detail.
- Fine detail (text, small logos): 80‑100% speed
- Medium depth (signage): 50‑70% speed
- Deep engraving (bold lines): 20‑40% speed
Balance power and speed: high power + high speed = clean, deep engraving without burning.
PPI (Pulses Per Inch)
PPI determines how many laser pulses occur per inch of travel. Higher PPI = smoother gradients and better photo reproduction but slower jobs.
- Photos and shading: 300‑500 PPI
- Text and vectors: 150‑250 PPI
- Cutting (through wood): lower PPI (around 100) for cleaner edges
Test your machine: run a power‑speed matrix on a scrap piece. Keep it in your notebook.
Need Laser Engraving on Wood? Let’s Bring Your Design to Life.
From custom signs and photo plaques to branded furniture – we use industrial CO₂ lasers for crisp, durable engravings. Send us your artwork for a free quote.
Contact ArtPlusBest Wood for Laser Printing (Beginner to Advanced)
What is the best wood for laser printing? For beginners, birch plywood (light, even grain, low resin) and maple (smooth, high contrast) are excellent. Cherry gives a rich, dark engraving. Avoid oily woods like teak and rosewood—they produce uneven burns.
| Wood Type | Ease | Engrave Contrast | Best For |
| Birch plywood | 5 Star | Light grey | Signs, coasters |
| Maple | 4 Star | Dark brown | Photos, fine detail |
| Cherry | 4 Star | Deep black | Awards, plaques |
| Walnut | 3 Star | Gold/amber | Premium gifts |
| Pine | 2 Star | Low contrast (resin) | Practice only |
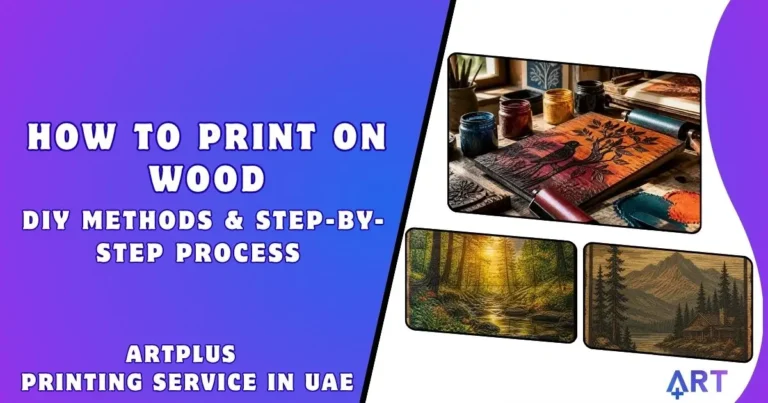
If you’re new to DIY wood printing, start with our step‑by‑step guide on how to print on wood using inkjet transfer methods.
Wood Surface Preparation Before Laser Engraving
Unlike ink printing, wood needs minimal preparation. But these steps improve results:
- Sand with 220‑grit paper to remove fuzz and create an even surface.
- Remove dust with a tack cloth—dust burns and creates speckles.
- Mask (optional) – Apply low‑tack transfer tape over the area. The laser burns through the tape, and the residue stays on the tape, not the wood. Peeling leaves a clean engraving.
- Ensure the bed is level, as an uneven surface can ruin the focus. Use a focus tool.
Different Engraving Techniques for Wood
What are the different engraving techniques? Here are three main approaches:
- Line engraving: Vector lines (text, outlines). Use high speed and moderate power.
- Raster engraving: Fills areas with dots (photos, shading). Use lower speed and higher PPI.
- Cut‑through: The laser passes completely through the wood. Requires high power (70‑100W) and multiple passes.
Finishing Touches: Sanding and Sealing
After engraving, wood often has raised edges or sticky residue.
Sanding: Lightly sand with 320‑grit paper to remove char. Wipe clean.
Sealing: Apply a clear coat to protect and deepen contrast. Options:
- Polyurethane spray – durable, glossy.
- Tung or linseed oil—natural and enhances grain.
- Clear wax—a soft sheen—is food-safe for cutting boards.
Sealing also prevents moisture damage and finger oils from smudging light engravings.
Creative Applications of Laser Wood Printing
- Custom gifts: photo-engraved plaques, wooden jewelry, and keychains.
- Home décor: Coasters, wall art, clock faces, and tabletops.
- Commercial branding: Restaurant signs, office logos, promotional wooden items.
- Prototyping includes architectural models, jigs, and templates.
Maintenance and Care for Your Laser Engraver
- Clean mirrors and lenses weekly: dust and smoke residue reduce power.
- Examine alignment every month: misaligned lasers cause uneven burning.
- Inspect belts and rails: lubricate as needed.
- Replace air assist filter: clogged filters lower engraving quality.
Conclusion
Laser wood printing is both an art and a science. Start with a 40‑50W CO₂ laser and birch plywood and test your power/speed/PPI settings. Prepare designs as high‑contrast vectors or dithered photos. After engraving, gently sand and seal. With practice, you’ll produce crisp, professional engravings for gifts, décor, or even a side business. For custom print on wood in Dubai with UV or laser precision, trust experienced professionals for consistent, high‑quality results. For custom laser printing services in the UAE, contact ArtPlus.
Need Laser Engraving on Wood? Let’s Bring Your Design to Life.
From custom signs and photo plaques to branded furniture – we use industrial CO₂ lasers for crisp, durable engravings. Send us your artwork for a free quote.
Contact ArtPlusFAQ
How to laser print on wood?
Use a CO₂ laser engraver. Prepare a high-contrast design, set power/speed/PPI based on the wood type, and test on scrap first.
How does a laser printer work on wood?
A laser beam heats the wood surface, vaporizing it and creating an engraved mark. It does not use ink—it burns or chars the wood.
What is the best wood for laser printing?
Birch plywood and maple are best for beginners. They have even grain and produce clean, high‑contrast engravings.
What are the different engraving techniques?
Line engraving (vectors), raster engraving (fills/photo), and cut‑through (complete penetration).
Can I engrave photos on wood?
Yes, with a grayscale photo and dithering. Use high PPI (300‑500) and test on the same wood species.
How do I protect a laser-engraved wood piece?
Sand off raised char, then seal with polyurethane, oil, or wax to prevent fading and moisture damage.