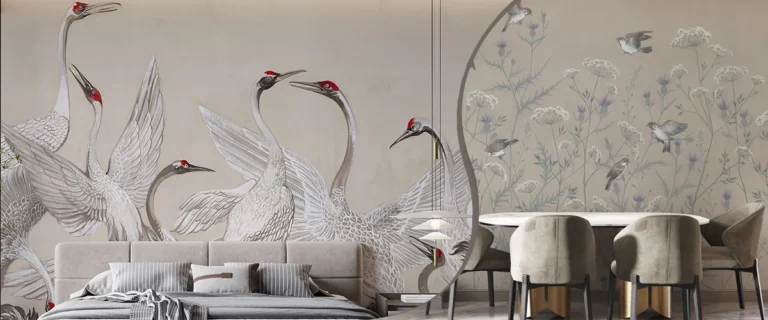
Welcome to the ultimate guide that will empower you to transform your space into a stunning work of art through the power of wallpaper. If you also want to create aesthetic vibes by adding wallpaper in your place but need clarification about proper wallpaper hanging, here is a Step-by-Step Guide to Preparing Walls and Installing Wallpaper.
Wall Preparation is vital in achieving a smooth and flawless Wallpaper Installation. This allows for a seamless and even base, ensuring that your wallpaper adheres flawlessly without any unsightly bumps or lumps.
In this comprehensive guide, we will discuss assessing wall conditions, learn how to use wall primer, and how long for the primer to dry on the wall is necessary for optimal results. We’ll also cover the crucial steps of measuring, cutting, and aligning the wallpaper or the actions of Installing wallpaper.
To get all this knowledge, Stay tuned.
Assessing and Repairing Your Walls
Before wallpaper, ensure your walls are in good shape by checking them for damage and fixing any issues. This will help ensure that the wallpaper sticks appropriately and looks nice.
Identifying Surface Flaws, Cracks, and Damages
The first step in preparing your walls is to carefully inspect them for any surface flaws, cracks, or damages that may impact the final look of your wallpaper.
Look for hairline cracks, uneven textures, or areas of peeling paint. By recognizing these issues early on, you can address them effectively, ensuring a seamless and professional finish.
Repairing and Patching Holes and Imperfections
Once you’ve identified surface flaws, it’s time to roll up your sleeves and work on repairing and patching them. Start by cleaning the affected area and removing any loose debris or old Wallpaper remnants.
Use a high-quality spackling compound or filler to fill in any holes, cracks, or imperfections. Smooth the surface using a putty knife or a sanding block, ensuring the repaired areas are the same height as the surrounding wall.
Sanding and Smoothing the Surface
Sand and smooth walls to ensure seamless wallpaper adherence. Use fine-grit sandpaper to smooth repaired areas. Clean surfaces with a cloth or vacuum, removing all dust and debris.

Cleaning and Priming
A clean canvas is the key to flawless Wallpaper Installation. Before delving into the exciting wallpaper world, cleaning and priming your walls for optimal adhesion and durability is essential.
Removing Dust, Dirt, and Grease from the Walls
To kickstart your Wall Preparation process, wallpaper ensures they are free from dirt, dust, or grease. Begin by gently dusting the walls using a soft brush or a microfiber cloth to remove any loose particles.
Mix a mild detergent with warm water for stubborn dirt or grease stains, and carefully scrub the affected areas. Thoroughly wash off with fresh water and leave the walls to air dry.
Ensure the current step is fully completed before proceeding to the subsequent one.
Choosing the Right Primer for Your Specific Wall Type
Selecting a suitable Wall Primer is crucial to achieving optimal results. Consider the type of walls you have—interior or exterior, made of drywall, plaster, or other materials.
A Waterproof Wall Primer is recommended for exterior walls to protect against moisture and weather elements.
Interior walls may benefit from an Interior Wall Primer that promotes adhesion and enhances the durability of the wallpaper. Consult a paint or wallpaper specialist to select the Wall Primer that best suits your wall type and needs.
Applying Primer to Enhance Adhesion and Durability
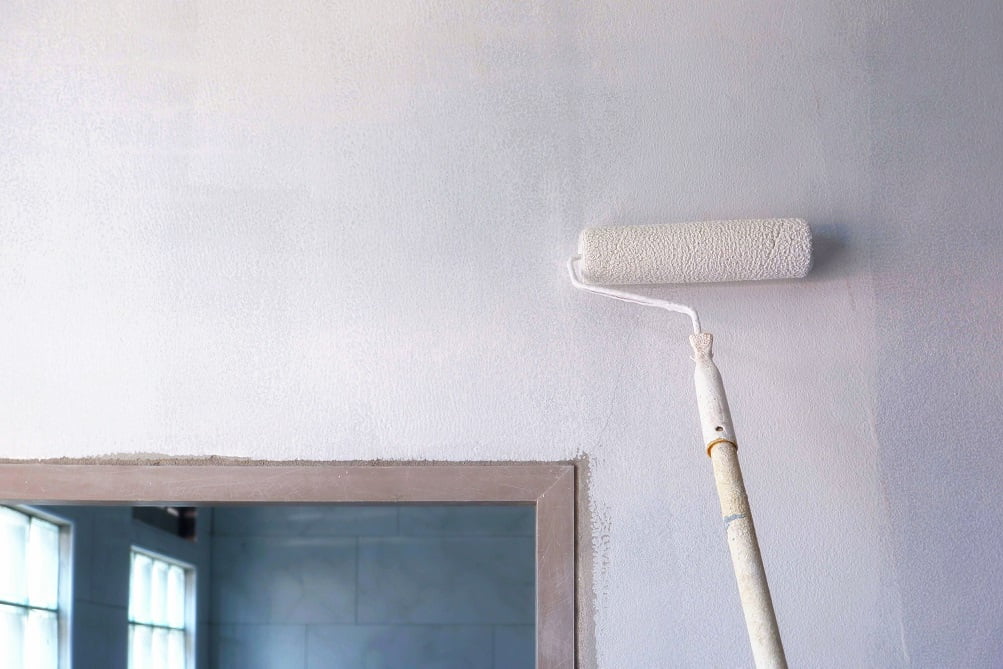
A wall primer prepares a wall surface so the paint or wallpaper can stick to it quickly and evenly. To apply the Wall Primer, follow the manufacturer’s instructions carefully and use a brush, roller, or sprayer.
Ensuring a uniform and smooth application covers the entire wall surface. The amount of coats needed will vary based on the situation. Remember to let each layer dry thoroughly before moving on to the next.
How should primer look on a wall?
Uniform appearance with textured surface for better adherence. Use wallpaper primer designed for wallpaper hanging. Smooth surface for secure wallpaper sticking, no peeling or bubbling.
How long does wall primer take to dry?
The drying time can shift depending on components such as humidity and temperature. It takes some hours for the primer to dry, but it’s advisable to consult the manufacturer’s guidelines for precise drying times.
Measuring and Cutting Wallpaper
Regarding Wallpaper Installation, accurate measuring, and precise cutting are essential for a seamless and visually stunning result. Measuring your walls correctly and cutting the wallpaper carefully will ensure a perfect fit and minimize waste.
Measuring Your Walls for Wallpaper:
Before diving into the cutting process, measuring your walls accurately is crucial. Begin by measuring each division’s height, from the ceiling to the baseboard. To accurately measure something, use a tool called a tape measure
Also, note them down. Next, measure the length of each wall, ensuring to include any doorways, windows, or other architectural features. Remember to add a few extra inches to account for pattern matching and trimming.
Cutting Wallpaper Carefully and Accurately
After measuring accurately, precisely cut wallpaper with the pattern facing upwards on a level surface. Cut wallpaper to size using measurements, utility knife, and straightedge.
Be cautious of pattern alignment in recurring designs. Cut slowly and steadily for tidy, accurate edges.
Maximizing Productivity and Minimizing Loss
Maximize wallpaper use, and strategize cuts. Plan the layout, considering the pattern repeat and focal points. Begin by cutting the first wallpaper strip and aligning it accurately with the wall and patterns.
Continue cutting strips, matching patterns seamlessly for cohesion—track wallpaper for corners, edges, and touch-ups.
Application of Wallpaper Adhesive
Proper application of wallpaper adhesive is vital to achieving flawless and long-lasting Wallpaper Installation. Wallpaper adhesive is the glue that bonds the wallpaper to the wall, ensuring a smooth and secure attachment.
Prepare the Wallpaper Adhesive:
Choose the proper wallpaper adhesive for your wall and wallpaper. Follow the manufacturer’s instructions for adhesive preparation. Consistency is critical for easy application.
Prepare the Wall:
Clean the wall surface thoroughly, removing dust, dirt, or debris. Smooth any imperfections or rough areas to create an even base for the adhesive.
Apply the Adhesive:
Use a brush to apply a fine layer roller, even an adhesive layer, to the wall.
Work in small sections to ensure the adhesive remains fresh and tacky.
Wallpaper Installation
Putting up wallpaper can make your walls look more exciting and attractive. Follow these simple steps to install wallpaper perfectly so you will be amazed at how different and beautiful your walls look. Let’s start exploring.
Hang the Wallpaper:
After applying the adhesive, carefully hang the first strip of wallpaper onto the wall. Make sure the wallpaper is lined up with the edge.
The guideline you’ve set and gently press it into place, starting from the top and working your way down. Verify that there are no folds or air bubbles on the material surface by using a tool to smooth them out wallpaper brush or a clean, damp sponge.
Ceiling Trim Strip:
-
- Trim wallpaper using a razor held at a slight angle, guided by a putty knife to prevent tearing.
-
- Ensure neat edges for a polished look by trimming wallpaper and wiping off the residue with a damp sponge.
-
- Push the sponge towards the edges to avoid spreading adhesive.
-
- Clean wallpaper and wipe woodwork and ceiling with a sponge for a tidy finish.
-
- Measure and cut subsequent wallpaper strips to size.
-
- Align the strip pattern with the previous strip by adjusting its position higher or lower on the wall.
-
- Butt the seams tightly without overlaps for a seamless look.
-
- Achieve professional wallpaper installation with perfect patterns and neat seams.
-
- Let your walls exude elegance and envy-inspiring style.
Achieving Perfect Corners and Trimming Techniques
Inside corners: Measure, trim, and hang the strip to turn the corner smoothly.
Outside corners: Trim the ribbon to wrap around the corner, ensuring a clean finish.
Trimming around windows and doors: Overlap the strip with the trim, make diagonal cuts, and smooth the paper.
Hanging headers and footers: Measure, align, and hang shorter pieces, adjusting for pattern alignment.
Sponge, smooth, and trim for a seamless transition and professional look.
Frequently Asked Questions
Question 1: What are the preferences for Wall Primers?
Answer: Premium wall and Wood Primer are excellent choices when working with different surfaces, such as wood or porous borders. Its advanced formula enhances adhesion and provides added durability.
Conclusion:
In a nutshell, Wallpaper can change a room’s look and add texture, color, and personality. However, giving your walls the attention they deserve is pivotal to guaranteeing the maximum conceivable result.
Proper Wall Preparation, the correct application of adhesive, and precise Wallpaper Installation techniques will result in a visually striking and professional wallpaper finish.
Remembering and practicing each step in the wallpaper installation process is essential. By understanding and implementing them, you can improve your overall performance.


