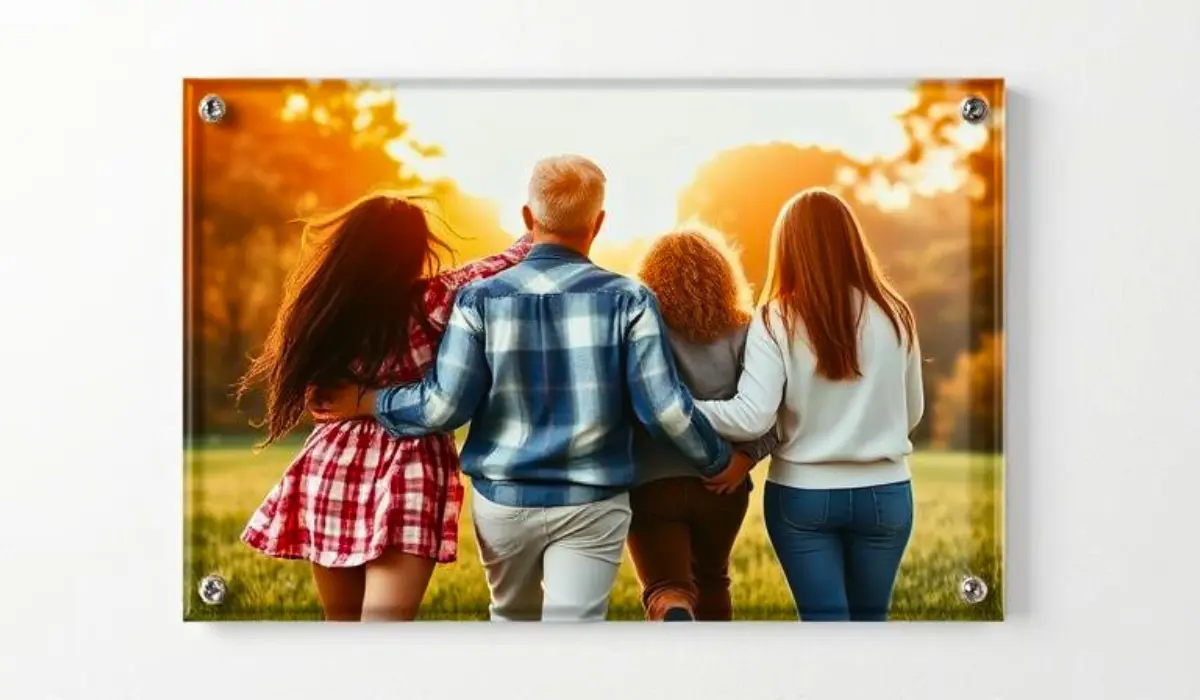
Printing photos on glass has emerged as one of the most elegant and contemporary ways to commemorate events and beautify home environments. Whether you choose to print family pictures, special places to which you’ve traveled, or simple, clever designs, glass printing is a sleek, rich, and permanent way of preserving images. Many people ask how to print photo on glass, and because of today’s technology, it is easier and more accessible than ever.
Depending on your needs and budget, there are some options for professional UV printing, and you can DIY at home also. This document will take you through the most used options, some materials that you might consider using, and some tips to keep in mind to ensure that your prints look stunning and professional on the glass. By the end of the document, you will feel more confident in your knowledge of the process, as well as how to get the most successful image results.
At Art Plus, we have hands-on experience producing high-resolution UV glass prints for home décor, offices, and commercial interiors, ensuring color accuracy and long-term durability.
Why Choose Glass Printing for Photos?
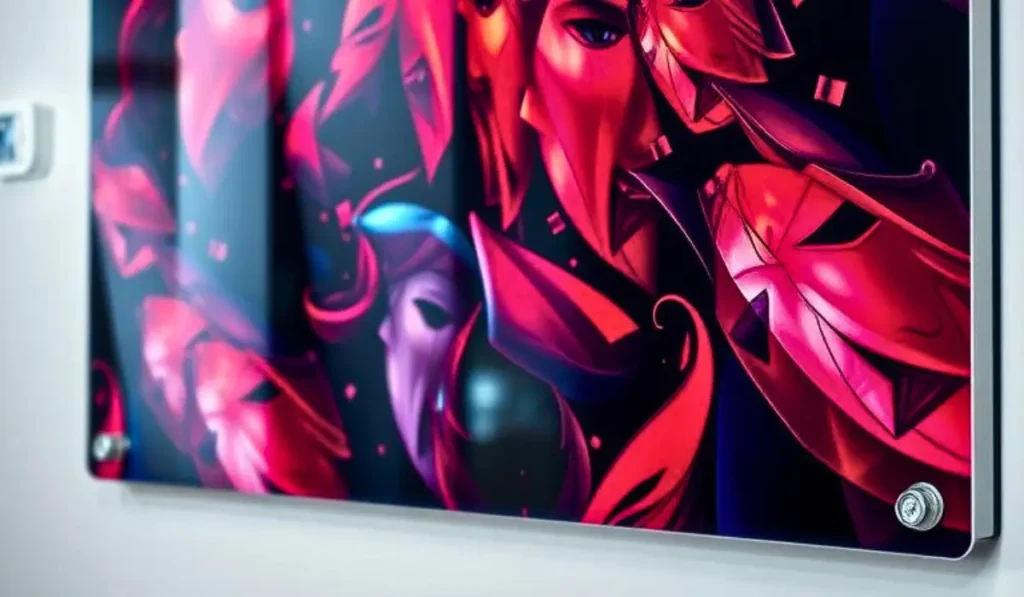
Printing your photos on glass is not just about durability—it’s also about elegance. Glass is special because it can make colors appear softer and sharper than on paper or canvas printing. The reflective quality of glass will add depth and brilliance to your images by having them pop off the glass better than traditional frames. Glass prints also durable against water, dirt, and fading, which allows them to be ideal for long-term display at home, business, or even in offices. Glass printing in dubai do not require a protective glass frame like paper prints, making it a less bulky design, therefore giving it a more modern look.
Popular Methods of Printing Photos on Glass
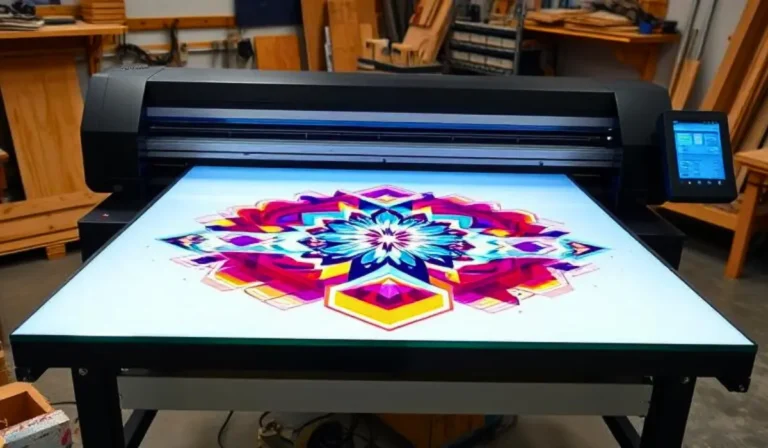
1. UV Printing on Glass
UV printing technology is amongst the most sophisticated and high-quality printing processes, which is commonly employed for many printing necessities. In this case, it is referred to as UV printing because the UV flatbed printer directly prints the image onto the glass surface by applying ultraviolet light to cure the ink right away. The ink is cured right away, so the printed image will appear with vibrant colors, fine detail, and excellent durability. UV printing is an excellent choice for large glass panels, wall art, headers, or signage, personalized décor, etc.
Advantages of UV printing:
- High-quality resolution and sharpness
- Long-lasting colors resistant to fading
- Works on both flat and curved surfaces
- Quick turnaround time
2. Decal Transfer Method
The decal transfer method is a popular option for DIYers. In this method, you first print the photo using a special transfer paper, and then you place it onto the glass with water and adhesive. While it may not last as long as UV printing, it is a fun and inexpensive way to personalize glass items like jars, vases, and mugs.
Best uses for decal transfer:
- Small home projects
- Personalized gifts
- Temporary displays
3. Screen Printing on Glass
Screen printing is a professional technique and is often used for designs with bold color or limited detail. A mesh screen is used to apply layers of ink to the glass surface. This technique, although generally more well-suited to industrial or commercial applications, could be used very efficiently for decorative glass panels with uncomplicated artwork.
Advantages of screen printing:
- Strong and vivid colors
- Excellent for large, bold designs
- Durable finish
How Long Do Glass Photo Prints Last?
UV printed glass photo prints are very strong and will last a long time, especially when produced with the UV printing process. Glass photographs printed with UV printing that will be displayed indoors can last anywhere from 10 to 15 years while providing the same level of color and sharpness that they had when they were printed.
Durability of UV Printed Glass
When using UV printing inks, your print will go through an instantly cured process with the use of ultraviolet (UV) lights. This causes the ink to stick very well to the glass surface. As a result, your print will:
- not peel, crack, or fade with time
- Stay clear in a consistent manner
- withstand everyday wear and tear from handling
Fade-Resistant Colors
When UV Glass Printing, the images are resistant to fading through UV Light in Natural or Artificial Light.
- Colors will remain true to color.
- No yellowing of your images.
- No dulling of your images.
- Fine details of your images will remain sharp.
- Compared to traditional paper photo printing, UV glass photo printing provides much better color stability.
Water & Heat Safe
Moisture-resistant UV glass photographs can withstand typical indoor heat conditions, and therefore, they are suitable for use in the following areas:
- Kitchens and dining rooms
- Baths and humid locations
- Workplaces and commercial interiors
Step-by-Step Guide: How to Print Photo on Glass at Home
If you want to create DIY, here’s a simple step-by-step process for using transfer paper.
1. Pick a photo – make sure the one you select is high resolution for the best appearance.
2. Prepare your glass – Clean the glass well to remove all dust, grease, and fingerprints.
3. Print the transfer paper – use an inkjet or laser printer and purchase transfer sheets made specifically for glass.
4. Transfer and apply – When placing the decal on the glass, follow the directions for water or adhesive. Use a squeegee to smooth out air bubbles.
5. Seal it – For longer durability, spray a clear sealant over your design (or transfer).
This is an effective and simple process to use for a small decorative item, but as far as quality goes, UV printing will be the best option for professionals.
Tips for Better Results When Printing on Glass
- Use high-resolution images – Blurry or low-quality images will not look good blown up on glass.
- Select the appropriate glass type – Tempered glass or acrylic glass panels are much safer and more durable.
- Hire professionals for large projects – If you want large wall art or commercial installations, professional UV printing will make sure it is first class.
- Protect edges and corners – Smooth/polished edges will make cracking or chipping much safer.
- Consider lighting – Glass reflects libraries, so think where the print will be located to avoid glare.
Applications of Glass Photo Printing
Glass prints are versatile and can be used in numerous ways:
- Home décor – Showcase family photos, wedding photos, or artwork in a contemporary way.
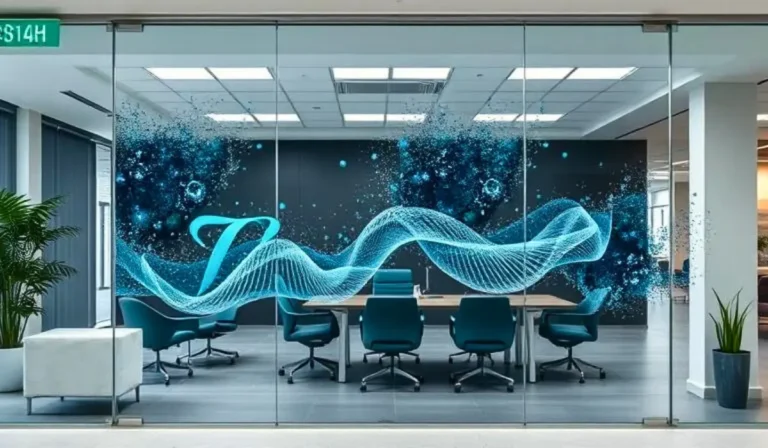
- Office spaces – Add motivational sayings or branding elements to glass partitions or acrylic panels.
- Personalized gifts – Create custom glass mugs, picture frames, or keepsakes for special occasions.
- Commercial design – Utilize large glass wall prints for restaurants, hotels, or showrooms for dramatic visual impact.
Where to Print Photos on Glass in Dubai
If you are looking for professional photo printing in Dubai, printing photos on glass is a premium option that offers exceptional clarity and durability. Glass photo prints are ideal for home décor, offices, galleries, and corporate gifting, especially when high-quality materials and precise printing techniques are used.
Many photo printing services in Dubai now offer customized glass photo printing with different sizes, finishes, and mounting options. Choosing a professional printing service ensures accurate color reproduction, sharp details, and long-lasting results. Whether you want a single custom photo print or bulk printing for commercial use, working with experienced photo printing professionals guarantees superior quality.
At Art Plus, we provide high-quality photo printing on glass using advanced printing technology to deliver vibrant, elegant, and durable photo displays. Our custom photo printing solutions are designed to meet both personal and business requirements across Dubai.
Conclusion
Printing photos on glass is a unique, artistic, and long-lasting way to showcase memories and images. Depending on the customer’s needs, glass can be printed professionally with a UV printer or with a simple DIY decal transfer. If you are looking to learn about printing pictures on glass, the first priority is to choose the printing process that works best for your situation, print quality, and durability. There is nothing more stunning than a glass printing project: The elegance of glass simply brings vibrant images to life and is fantastic for personal and commercial projects. If everything is done correctly, your project will have elegance and longevity!
Looking for professional UV glass printing with vibrant colors and long-lasting results? Explore our custom glass photo printing services in Dubai.
FAQs
Can you print a photo on glass?
Yes—photos can be printed on tempered or acrylic glass using high-resolution UV printing. This creates vivid color and a sleek, modern look for home or office walls.
How to print on glass permanently?
Permanent glass printing is done using UV inkjet printing, ceramic printing, or kiln-fired techniques. These methods bond the ink to the glass surface so it won’t fade, peel, or wash off.
Can you print directly onto glass?
Yes—advanced UV printers can print directly onto flat glass panels without films or stickers. This ensures high detail, sharp colors, and long-lasting durability.
What is a photo on glass called?
It’s commonly called a glass print, tempered glass photo, UV glass photo, or acrylic glass print. These are popular for décor, gifts, and modern interior artwork
Can glass prints be mounted on the wall safely?
Absolutely—tempered glass prints can be safely wall-mounted using standoffs, brackets, or cleat systems. When installed correctly, they’re stable, secure, and long-lasting.